Welcome the Pot Prof’s complete guide to growing weed!
Stage 2, Phase 2: Guide to growing cannabis during the late vegetative growth phase.
Introduction to scrogging and lollipopping
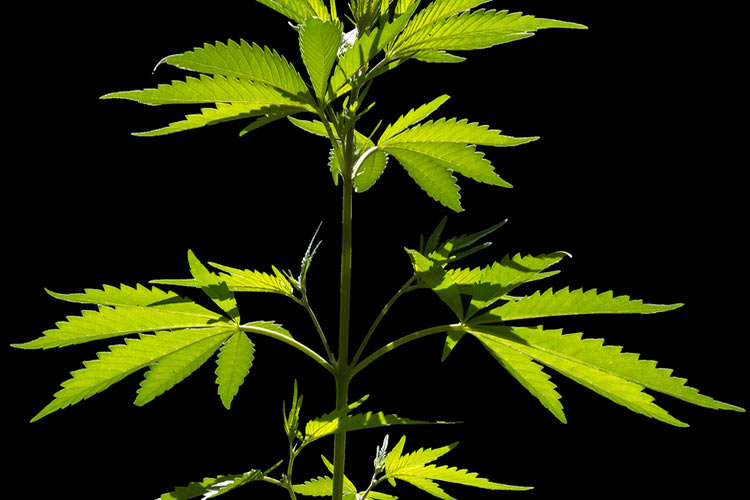
If early vegetative growth is all about growing your sprouts into young mature cannabis plants, late vegetative growth is all about preparing your plants to enter into the flowering phase.
Late vegetative growth is an important time for cannabis plants for one main reason: this is when you will do a significant amount of trimming, implement an advanced training, and apply a final round of pest control solution like neem oil.
Late Stage Vegetative Growth:
- Lollipopping: advanced trimming technique
- Scrogging: advanced training technique
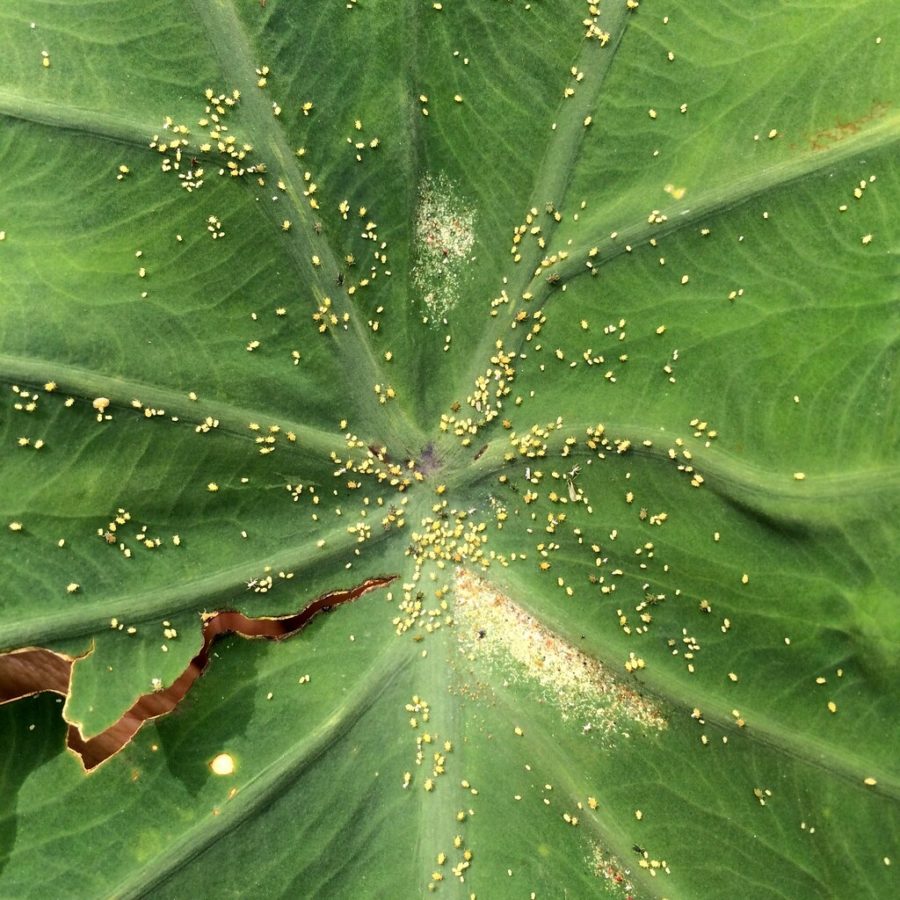
- Apply pest control solution
In this guide, I will go over how to manage late vegetative growth and all of successfully apply these techniques, especially low-stress training, which can be a more difficult than before.
Basically, in late vegetative growth, your plants are stronger than they were as young plants, but they will no longer respond to training lower down on the stalk as readily as they did in the early vegetative growth stage.
Getting Started: Scrogging And Lollipopping
Techniques such as scrogging are an option because scrogging mostly involves training the canopy. The lower section of the plant is only modified in a limited way.
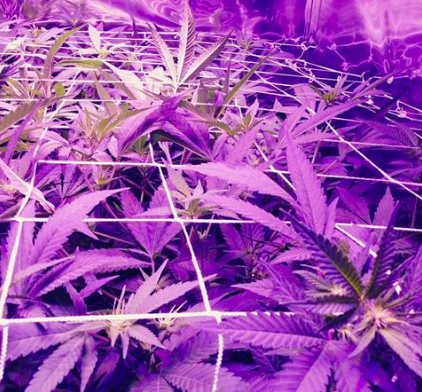
- Scrogging uses a net to even out canopy height. It is an important method for making sure that canopy height is even so that the use of the area under the grow lamp is optimized.
- Defoliation or lollipopping is a technique for trimming fan leaves off of a cannabis plant that are not receiving any light. It is a good way to make sure that your plants are putting all of their energy into colas and will help the buds grow larger.
Tools For Scrogging And Lollipopping
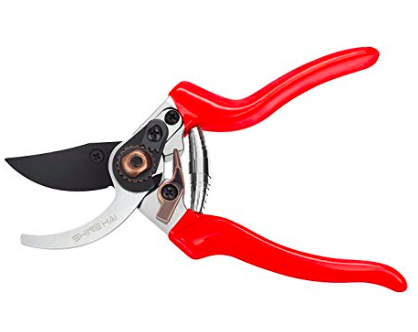
- Shears for cutting through larger twigs
- Shears for finer trimming
- Gardening gloves
- Atleast 1 scrog net
- 4 clips (often included with net)
- 1 tray or bag to catch trimmings
- 4 plant ties for training (optional)
The main tool you will need in order to scrog is called a trellis net. The trellis net is basically a net with large grid patterns that can be used to help plants grow in a particular way. You can find trellis nuts at pretty much any gardening store or online. They are a very common tool gardening and should be widely available.
Most important thing to look for in a trellis net is that it is stretchable and elastic and has hooks on it so that you can easily attach it to the frame of your grow tent.It is also a good idea to get more than one trellis net so that you can apply one trellis net in the beginning of late-stage growth and another trellis net during flowering once colas start to form.
Late Vegetative Growth For Cannabis Is All About Maintenance And Optimization
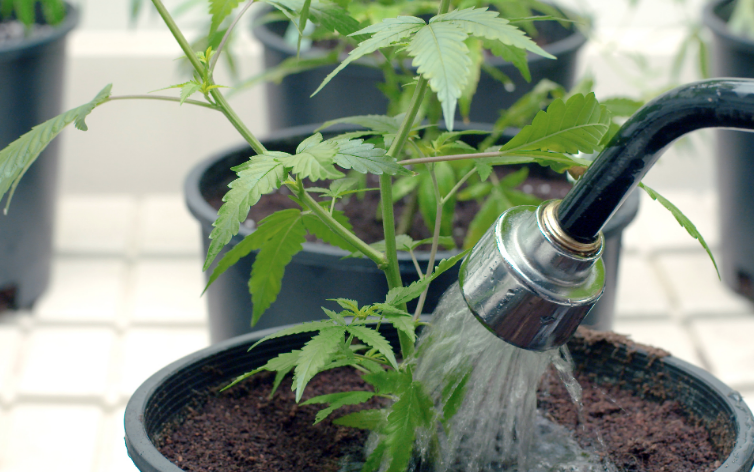
The theme of this phase maintenance and optimization. Your feeding schedule and nutrient mix will not change too much from the early vegetative stage. Similarly lighting can continue to be 24 hours / 7 days a week if that is the schedule you chose.
This guide covers the middle section of the grow cycle: weeks 5 through 8, approximately.
Autoflowers will usually begin flowering during this time. For autoflowers this will usually be the time when they put on most of the volume of their buds. You can still apply the techniques I discuss here to autoflowers before the go into the flowering phase during weeks 3-5 depending on the strain.
But for photoperiods, this is the time when we will prepare them to go into flowering by adjusting the height and spread of their canopies and remove extraneous foliage that will not contribute to the growth of the bud sites.
Links to check out other stages of this guide:
WHAT DO I NEED TO KNOW?
Stage 2, Phase 2 begins with a discussion of the various methods for training your medium sized late vegetative growth marijuana plants and reasons behind each of them.
This section will cover the following topics:
- How to scrog: how to set up a scrogging net and balance out the canopy height
- How to defoliate: how to remove excess foliage and why it matters for maximizing yield
- How to properly control pests and boost marijuana plant health
- How to adjust airflow and humidity, and avoid creating hot spots in the grow tent

Instructions
Late Vegetative Growth: Guide To Growing Cannabis
How To Scrog: How To Set Up A Scrogging Net And Balance Out The Canopy Height
Two quick notes before we start:
- For this guide I am going to give you the most basic techniques that beginners will need in order to get started quickly. For more in-depth information, check out Leafly.com’s guide to scrogging.
- Scrogging is not always something that autoflowers need although it can certainly be applied to autoflowers. Sscrogging is regularly applied to photoperiods because photoperiods tend to grow taller and require more time to reach the flowering stage. The scrogging technique allows you to manage the canopy height and distribution as your photoperiods approach the flowering stage.
With that out of the way, let’s begin.
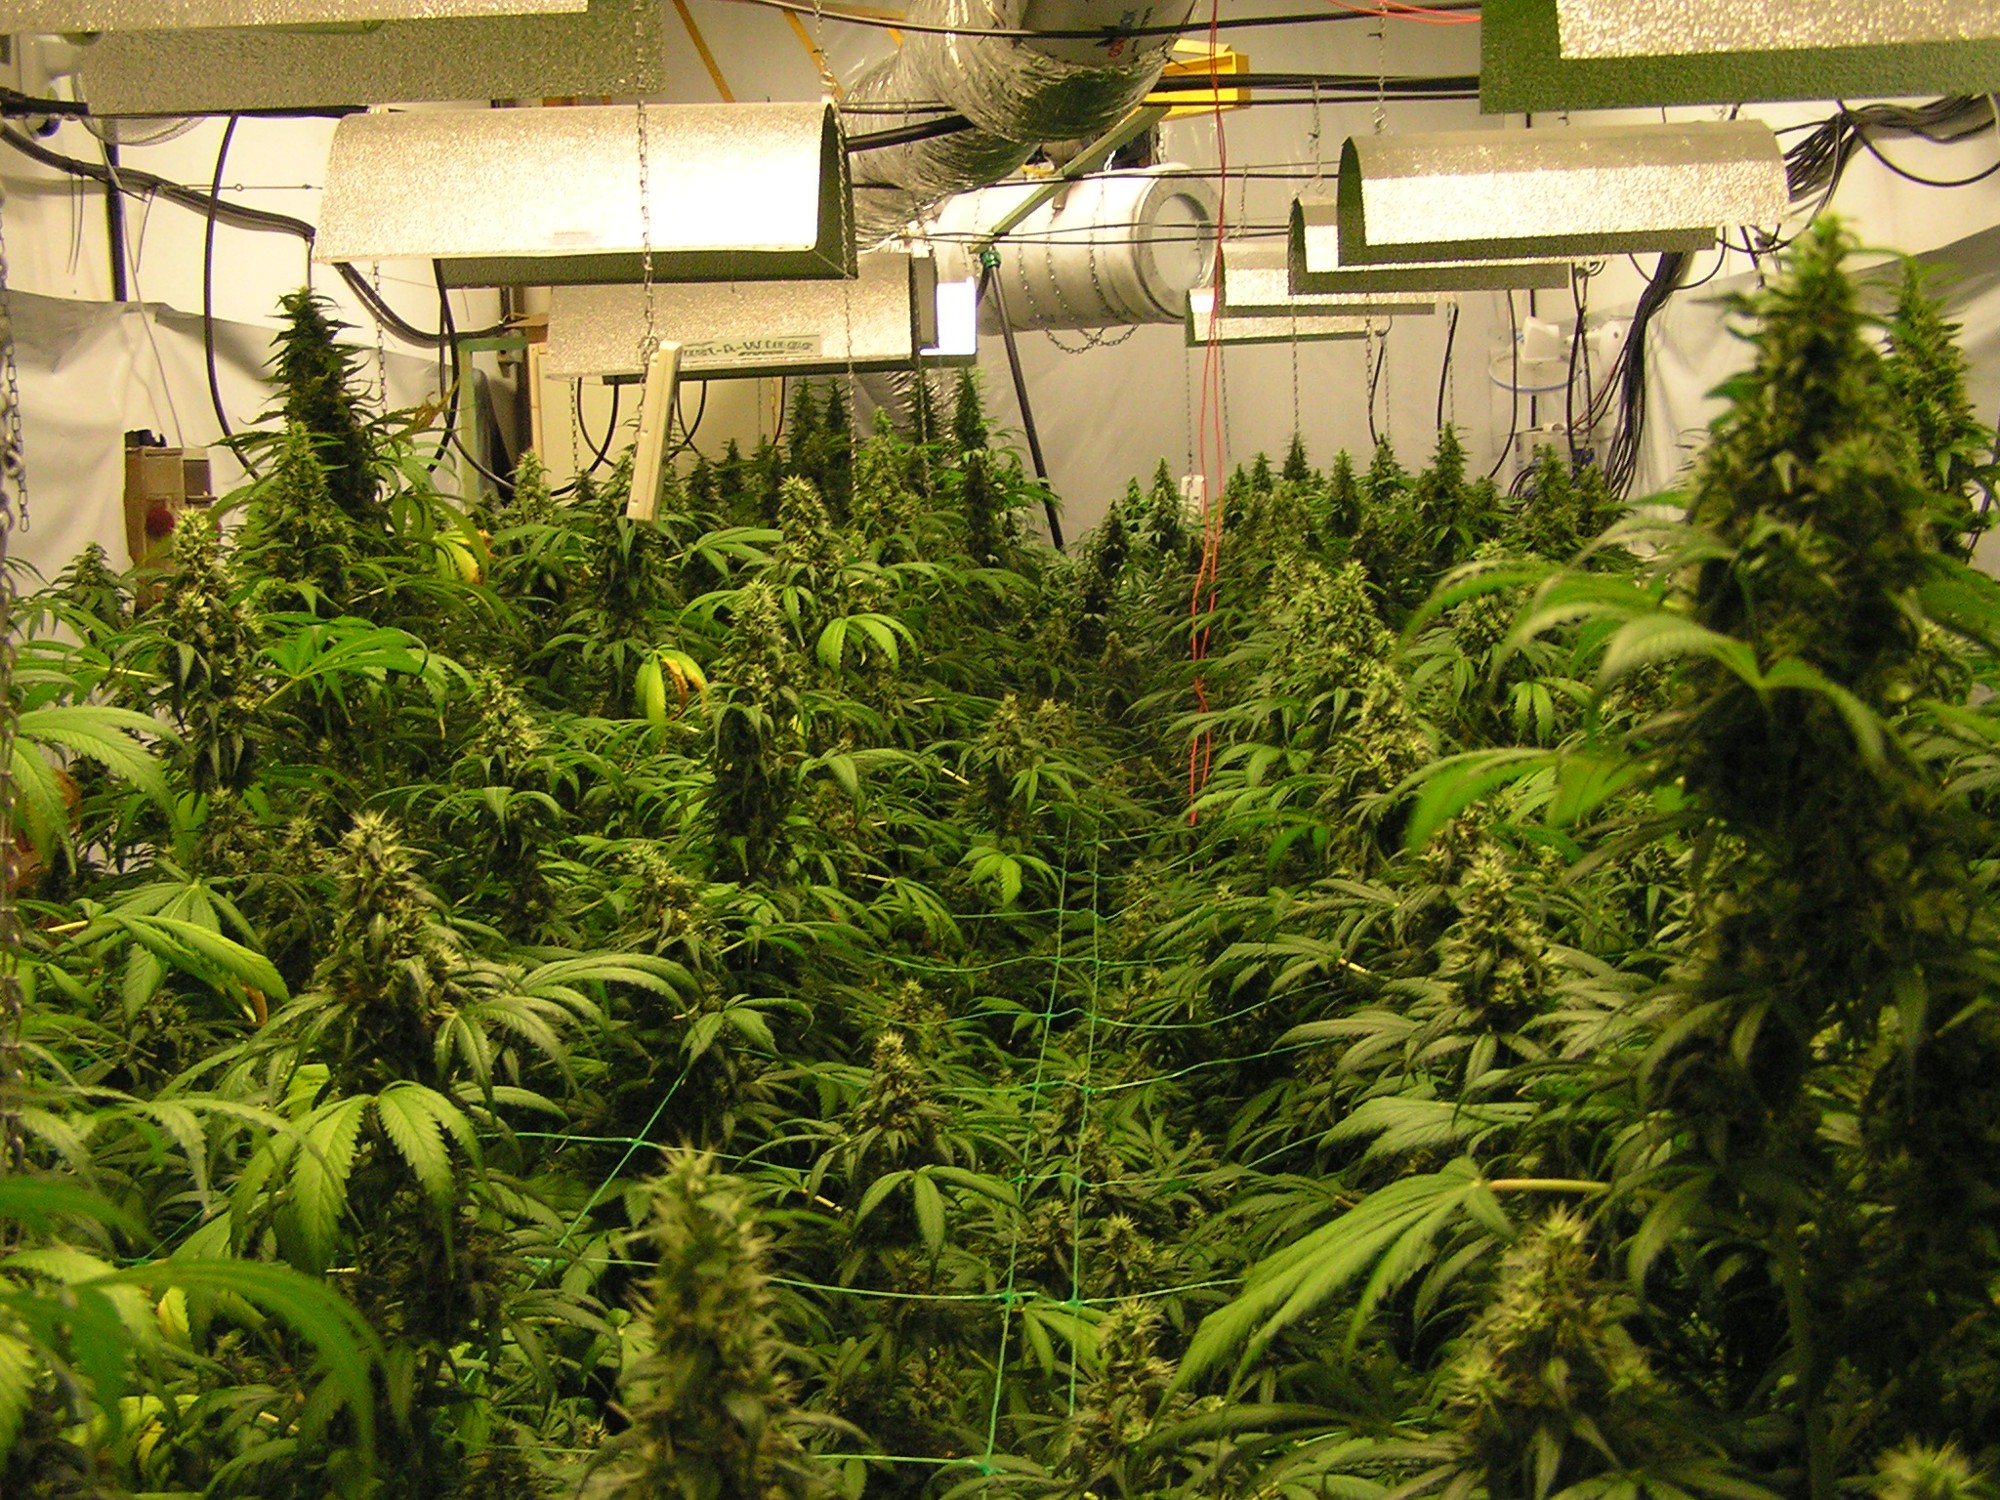
Scrogging cannabis for beginners: Screen Of Green
Let’s quickly go over the purpose of a trellis net and what the term “scrogging” means.
S.C.R.O.G. is an acronym for Screen Of Green which is a technique for growing cannabis. Scogging utilizes a trellis net under which the plants are bent in order to lower and widen the canopy.
Scogging allows you to maximize your yield and optimize every inch of your growing space.
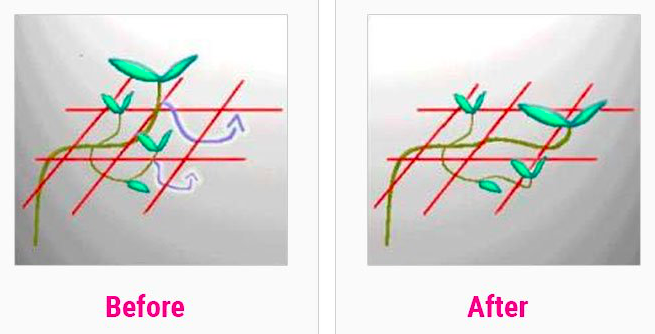
Essentially, begin by allowing the tops of your cannabis plants to grow up through the nettings, then bend them back under until the entire net is evenly filled out.
Scrogging photoperiods: how to scrog photoperiod cannabis plants
The first steps of scrogging for autoflowers can be done as early as week 5 and as late as week 8.
You can even scrog photoperiods after they go into the flowering stage, although at that point, their stems will be harder to bend. It’s often much easier to scrog in late vegetative growth than during the flowering stage for that reason.
Scrogging autoflowers: how to scrog autoflowering cannabis plants
For autoflowers, scrogging is definitely a possibility though not strictly necessary.
Scrogging Autoflowers is a good way to help autoflowering cannabis plants use the full area under the grow light. It’s important to start early, around week 3 or 4 is perfect.
If you wait too long, by week 4 or 5 they may be transitioning into the flowering stage already. By week 8, they will certainly be showing buds and even potentially forming large colas.
Step 1: Attach the clips for the scrog net to the frame of the grow tent
Position the clips of the scrog net above the canopy of the cannabis grow
The trellis not that you bought should come with hangers or clips. Begin by attaching ease hangers to the frame of your grow tent at a height that is a few inches above the tops of your cannabis plants.
By setting up the net above the canopy this gives you the ability to then drop it down into place slowly and gently position the plants around the canopy rather than trying to do so while sitting up the trellis net.
Step 2

With the hooks or Clips in place you can begin attaching the net. It’s a good idea to attach the net to the back of the grow tent first and then stretch The netting forward over the tops of the can of be and attach them to the front netting.
This is just going to make it a lot easier for you to accomplish the setup of the trellis net. Some trellis Nets requires knots to be tied or certain ways of hooking them into the hooks. Just make sure that the trellis net is securely attached to the hooks and that bit won’t come apart as you position the plants around it.
Step 3

The net should now be comfortably position above the canopy. It’s an act is sagging too much or is not tight enough now is the time to tighten it. Simply grab a few extra length of the netting and hook them into the hooks to tighten the grid.
You want the netting to be tight enough that it isn’t sagging in the middle but not so tight that it’s going to pull your grow tent down. This can take a little bit of getting used to so take your time and find the right amount of tension for your setup.
Step 4
Gently lower Each corner of the trellis net until the tops of the cannabis plants are poking through the net. The cannabis plants should be poking through the net about 4 or 5 in. Only the tops of the cannabis plants should be visible.
If more than 6in of cannabis tops are visible you may have lowered The netting too far. How do you lower than that gently bend the cannabis stems into position making sure to spread them out so that each cannabis Tops is positioned as far away from the other tops as possible.
it is okay if some of the tops are facing horizontally at the end of this process. They will recover and slowly face upward again over The next few days.
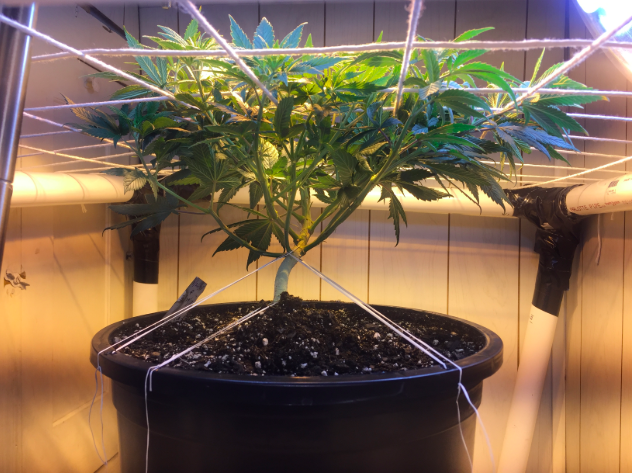
End result of scrogging cannabis plants
Scrogging is not an exact science. However, by the end of the process, all of the cannabis plants should be at about the same height as the netting. The canopy height should be reduced by 4-to-5 from their previous height, and the tops should be point out towards the edges of the trellis net so that they are encouraged to grow away from each other.
It might look ugly. Deep breathe, everything will be ok.
As you widen the plants and push the cops away from each other they will look very unhappy. At the end of the process the entire grow may look a bit squashed and it will look messy. That is okay. It is ok if the plants look like they are under a little bit of stress.
Tip for scrogging: Scrogging cannabis plants twice
You may have to go over the entire canopy twice to make sure that everything is well placed. Over the next day or so, the previously crushed looking tops will move around a bit and may pop up and become undone. By going over tops twice you can be sure that they are each as spread out as possible and in the best possible position to take advantage of the space.
If you have enough room in are feeling ambitious, then you can perform this procedure again in a few days once the tops have fully recovered. By bending them back down under the trellis net and extending them further away from each other you will continue to maximize the use of the space.
Scogging your tops twice will ensure they will be able to grow without competing with each other for light or space within the grow tent. They will also go at a more even pace, which will help you raise the lights up at an even pace over the course of the rest of the flowering phase.
How To Defoliate: How To Remove Excess Foliage And Why It Matters For Maximizing Yield
Defoliating After Scrogging Cannabis Plants
After you have finished scrogging your plants, give them a few days or a week to perk back up. Scrogging is a light stress training method, but defoliation is a high stress method, and you don’t want to defoliate until the plants have been given a chance to recover from that stress. Otherwise, the combo could be too much for plant.
However, once the cops are facing up and growing vertically again, you can begin to defoliate.
Defoliation vs. Lollipopping
Defoliation is also called lollipopping. The reason it is called lollipopping is that by the end of the process your cannabis plants will not have any leaves underneath the top of the canopy, and they will look like lollipops.
From the tops down, a grower can trim all fan leaves off of their plants in order to force the plants to put all of their growth energy and potential into the tops where the colas are going to form. When the plants go into the flowering stage they will focus all of their energy into the buds and not get distracted by trying to grow fan leaves at the bottom that won’t be getting much light anyway.
Nutrient deficiency after defoliation
One thing to keep in mind is that, after defoliating your cannabis plants you should watch out for any signs of nutrient related stress. After all, up until this point, your cannabis plants have been evenly distributing nutrients throughout all of their fan leaves including those beneath the canopy that weren’t getting much direct light.
By removing the fan leaves at the bottom of the plant, you are allowing the plant to put the nutrients where they matter most: into the tops of the plants. However, this can also lead to nutrient imbalances at the top of the plant as the plant adjusts to it’s new conditions. Just keep an eye on things in case your plants do not react as you expect when you defoliate.
Defoliation helps with pest control
Final benefit to defoliation is the fact that these lower fan leaves provide more surface area for pests and fungus to infect the grow. By removing these leaves which are usually unhealthy because they haven’t been getting enough light you emit passed the stage.
If you are working with autoflowers then you can begin to defoliate as soon as the plants transition into the flowering stage.
However with photoperiods you can decide to wait until the light cycle has flipped and the flowering stage has been induced before defoliating.
Some Growers prefer to defoliate before inducing photoperiods to flour because it reduces the chance that stress from the defoliation process will affect the growth of the buds. This is entirely your call and many growers have great results either way.
The Defoliation Process
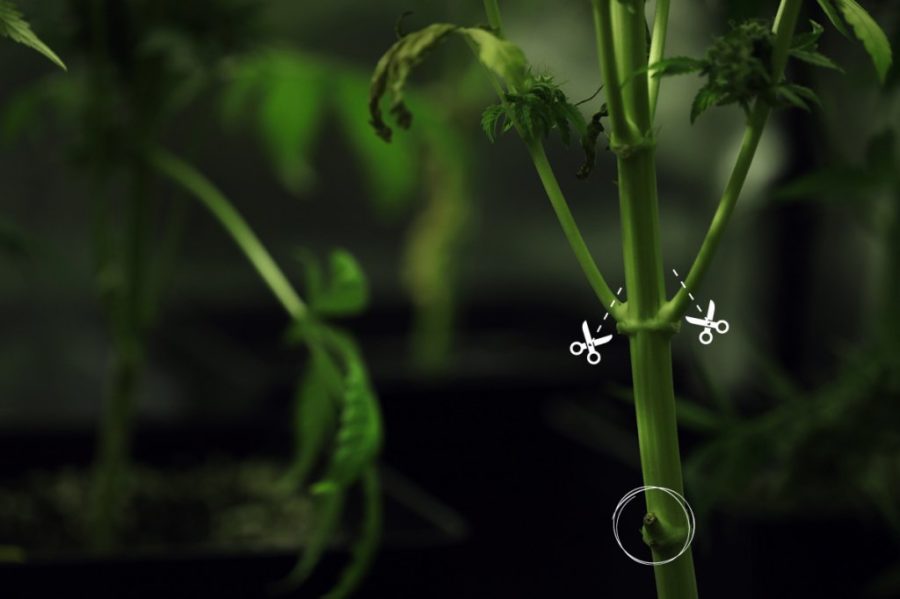
Defoliation is a fairly simple process to actually execute. Once you are ready to defoliate you can simply reach underneath your cannabis plants and begin to remove leaves. Many of the leaves will require the use of clippers to make sure that they are cut clean away from the stem and that no extra stem or bark is peeled off from the outside of the plant.
You want to make sure that each cut is as clean as possible so that there are no open wounds exposed to the air into which bacteria and other pests can enter.
That being said many leaves on the bottom of a cannabis plant will be small and can be simply pinched off by hand. You may also need to reach deep into the foliage in order to remove fan leaves that are positioned well away from the center of the grow. Be very careful as you reach between the stems so that you don’t accidentally break any stems or removed leaves that are above the scrog net.
End Result
By the end of the defoliation process, you will be able to see all of the stalks that have been growing underneath the canopy. The various stalks that were produced by the training and topping in the early vegetative growth phase will be visible and you can admire the work that you have done so far.
Many growers collect and store the fan leaves after defoliation. While fan leaves do not contain much THC or CBD, they do have other purposes that make them useful.
Fan leaves often make great joint rolling papers if they are cured a little bit. Fan leaves do contain a small amount of THC and can add to the overall flavor of bud that is rolled with them.
In addition, fan leaves are edible so you can mix them in with any salads or use them as a regular food vegetable in your daily cooking. They make great additions to smoothies as well.
Conclusion
By the end of the late stage of growth, your plants should be using the maximum space available to them within the grow tent. After scrogging and defoliating, they will be putting all their energy into growing the tops of their plants and adding a few more inches of height before they are ready to be induced into the flowering stage.
The flowering stage is where you will get a sense of just how much cannabis Bud your grow is going to produce. By training and scrogging your plants properly in the early and late vegetative growth stages, you will give your plants the ability to maximize their growth potential and produce sometimes double or quadruple the number of colas that they would have otherwise.
Free How-To Guide For Growing Marijuana
Subscribe to our newsletter to receive a free downloadable e-book version of our complete how-to guide for growing marijuana. Don't worry! We won't spam you or send you useless emails.
Connect with us on social media: